Mastering Airbrush Makeup: A Guide to Flawless Application
Celebrities like Catherine Zeta-Jones and Jennifer Lopez swear by airbrush makeup for its ability to create an almost flawless complexion, reminiscent of a photo that has been run through Photoshop. This innovative technique not only provides a sheer yet full coverage but also effectively conceals imperfections such as under-eye circles and rosacea.
Understanding Airbrush Makeup
The process involves mixing a specialized foundation with a few drops of water and then applying it to the face using an airbrush wand. The result is a lightweight finish that requires less product while achieving a polished look.
Essential Tools for At-Home Airbrush Application
To get started with airbrush makeup at home, you’ll need the following tools:
- Airbrush Compressor: The heart of your airbrush system.
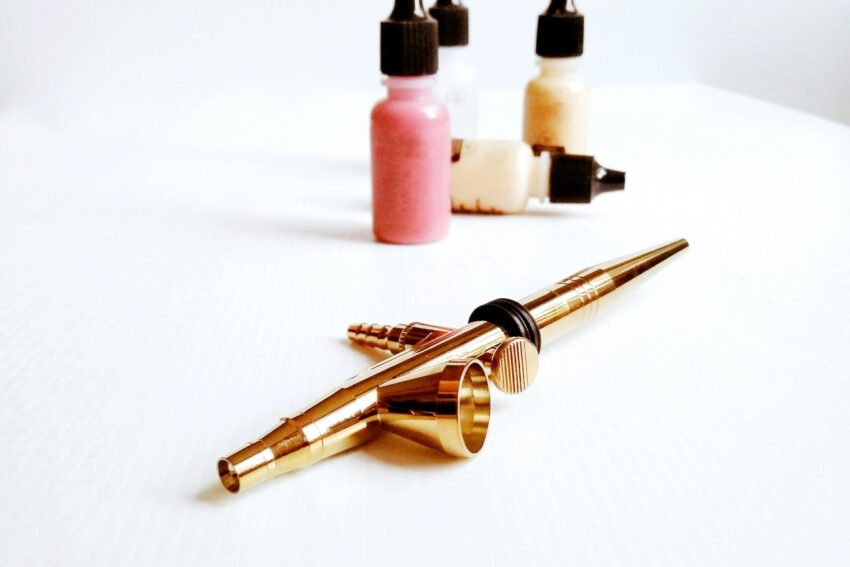
- Airbrush Wand (Pen): Used for applying the makeup.
- Hose: Connects the wand to the compressor.
- Airbrush Foundation: Specially formulated for airbrush application.
- Bottled Water: To mix with the foundation.
For first-time users, many brands offer complete kits. The initial investment typically ranges from $120 to $600, depending on the quality of the equipment. Once the kit is purchased, the only ongoing cost will be the foundation, which generally costs around $20. Some companies also offer compact compressors, making them more suitable for home use and travel.
Application Process
- Prepare the Foundation: Add a few drops of airbrush foundation and water to the designated cup, following the specific instructions provided by your chosen brand.
- Begin Application: Hold the wand approximately 6 to 10 inches from your face. In gentle, circular motions, spray the mixture evenly over your face and neck. Avoid holding the wand in one spot to prevent over-application, and keep your eyes closed to avoid any discomfort.
- Dry and Finish: Allow the makeup to dry. If desired, a second coat can be applied. Once dry, there’s no need for finishing or setting powder.
Choosing the Right Foundation
Airbrush foundations are typically available in two formulations: silicone-based and water-based. Many professionals recommend silicone-based foundations for their ability to deliver a smoother, more flawless appearance. It is essential to use dedicated airbrush makeup, as traditional foundations are not compatible with airbrush systems.
Pros of Airbrush Makeup
- Long-Lasting: Once applied, airbrush makeup can last anywhere from 10 to 20 hours, averaging around 16 hours. It is resistant to rubbing off and won’t clog pores.
- Sanitary Application: The airbrush system is ideal for shared use, such as at weddings, as it does not directly touch the skin.
- Versatile Use: Some airbrush kits and foundations can be used on the legs to conceal veins and discolorations, eliminating the need for pantyhose.
- Special Effects: Airbrush makeup is excellent for applying special effects, such as stencil tattoos.
Cons of Airbrush Makeup
- Initial Cost: The upfront investment can be significant, particularly for high-quality equipment.
- Time-Consuming: Application requires time, equipment, and a power source, making it less convenient than traditional makeup.
- Self-Application Challenges: If applying makeup on yourself, parts of the application may need to be done with your eyes closed to avoid irritation.
- Portability Issues: Unlike mineral or traditional foundations, airbrush equipment is not easily portable.
- Health Considerations: Frequent users may want to consider a face mask, as there is no definitive information on the potential inhalation of product particles.
Despite its challenges, the allure of achieving an ultra-flawless, poreless finish is compelling. Many women report that airbrush makeup helps conceal fine lines and wrinkles, making it a worthwhile investment for those seeking a perfect look. If you’re aiming for that enviable complexion, airbrush makeup is definitely worth exploring.


